

How To Make Homemade Scented Candles
By
2 years ago
Get creative with this easy-to-follow recipe
The best way to ensure your home is perfectly fragranced? Make your own signature scent, of course. If you’ve been wondering how to make your own homemade scented candles, the answer is here. In her book The Art of the Natural Home, Rebecca Sullivan gives an easy to follow recipe for DIY scented candles, sure to brighten up your home. Follow our step-by-step guide and give it a go yourself.
Want to know how to make your candles sustainably? See our guide here
DIY Homemade Scented Candles Recipe
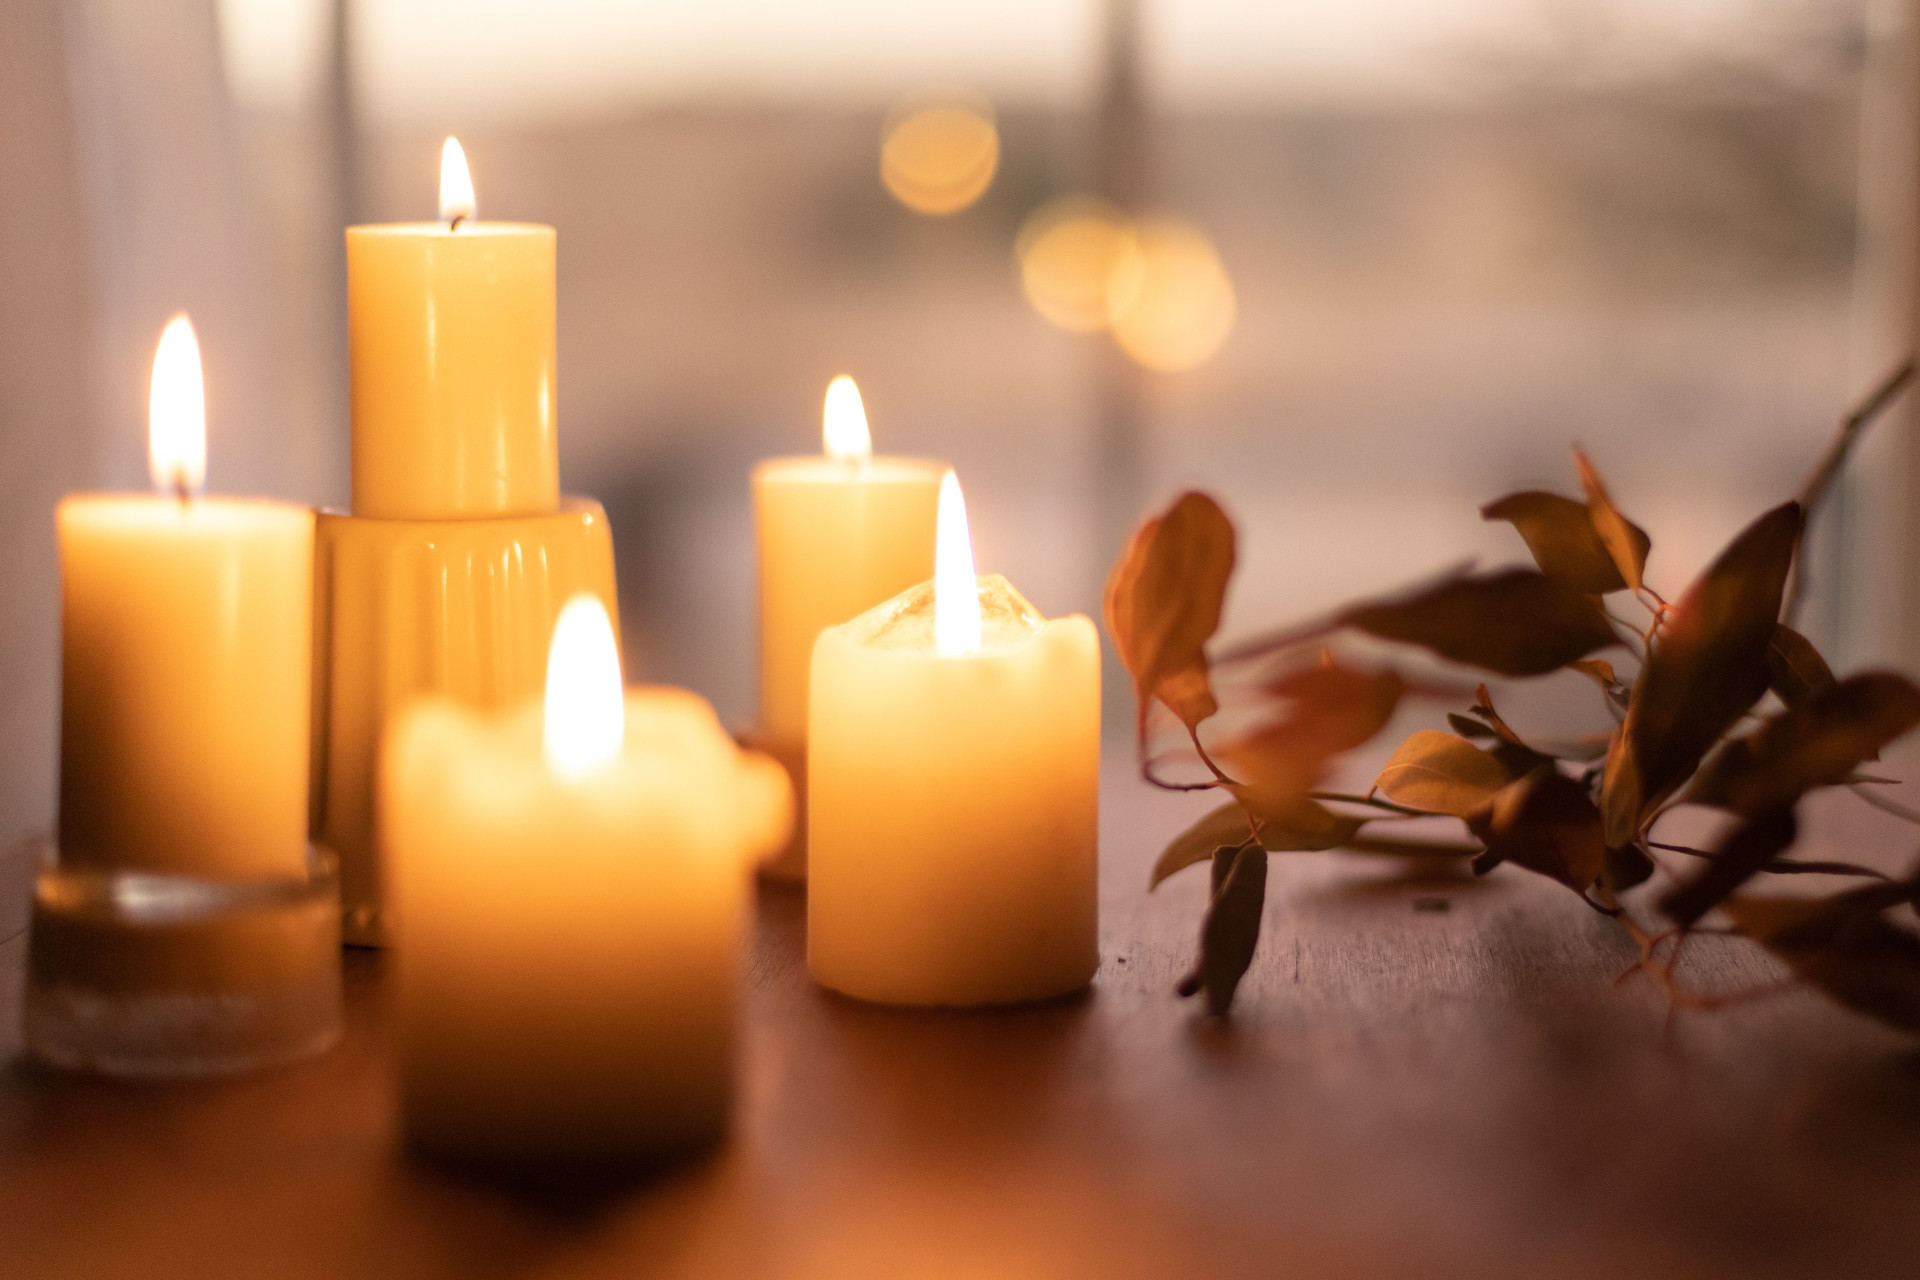
Smell is one of our most powerful senses, with the ability to evoke nostalgia, whet your appetite or instil calm. Everything you need to make them is available online, and affordable too, but a lot of this stuff you will have at home. Once you nail this recipe, they will be your go-to gift, as you can personalise the scents.
How To Make Homemade Scented Candles
Makes about 8 small candles
Ingredients
- 2kg paraffin or soy wax (a more eco-friendly option)
- scented or essential oils or mica or candle powders in various colours (optional – the amount you’ll need depends on the desired colour, so start with 1/2 teaspoon and go from there)
- double boiler (or use a heatproof bowl and a saucepan)
- thermometer
- candle moulds (for example small glass jars, tins and pots)
- spray oil
- wicks
- hairdryer
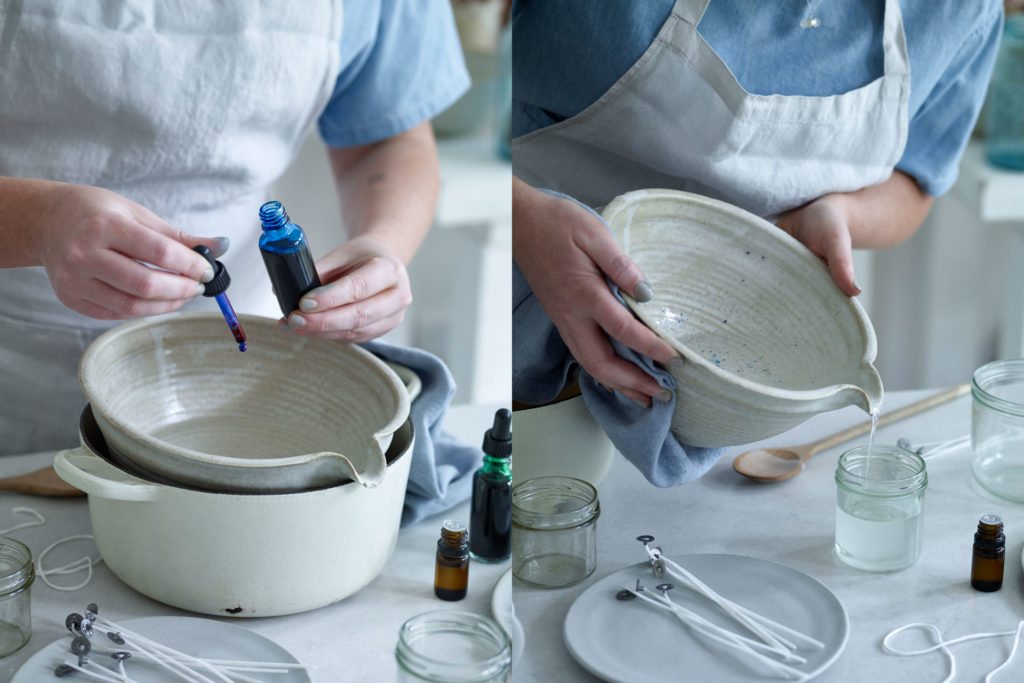
Photography by Nassima Rothacker
Method
- Begin by grating or chopping the wax or paraffin for your homemade scented candles. The smaller you chop it, the quicker it will melt. If you are using a double boiler, get it set up. If you don’t have one, boil some water in a large saucepan, then set heatproof bowl on top of the saucepan. Add the wax to the top of the boiler or the bowl and leave to melt, stirring every so often. Use a thermometer to ensure the temperature of the wax does not exceed 90°C.
- Once the wax has melted, add your desired oil or combination of oils (for a 250ml-sized candle, about 30ml of oil is ample) and powder for colour*, if you wish. I would do this over the heat, very quickly, so that the colouring agent combines easily. Remove from the heat once everything has been added and mixed so that the colour and oil are distributed evenly. Set aside and quickly prep your mould.
- If you’re using a temporary mould, spray it with a little oil for easy removal. Next, insert the wick by tying the wick to a pencil and sitting it horizontally across the top of the mould so that the wick hangs vertically. Pour in the wax to about 2cm from the top. The candle sometimes shrinks in the centre, so you can add a little more wax if needed. Use a hair dryer to dispel any air bubbles or divots, and smooth the top.
- Cut off the wick and leave the candle for at least 24 hours before removing from the mould or lighting it if using a permanent mould.
- And there you have: you’re very own homemade scented candles.
Candle colouring is available in every colour of the rainbow and can be purchased online.
Read More
Taken from The Art of the Natural Home by Rebecca Sullivan, published by Kyle Books.
Featured image: Sixteen Miles Out, Unsplash