


I Tried At-Home Microneedling
By
2 months ago
No time for a clinical treatment? This at-home microneedling kit is making waves in the beauty scene
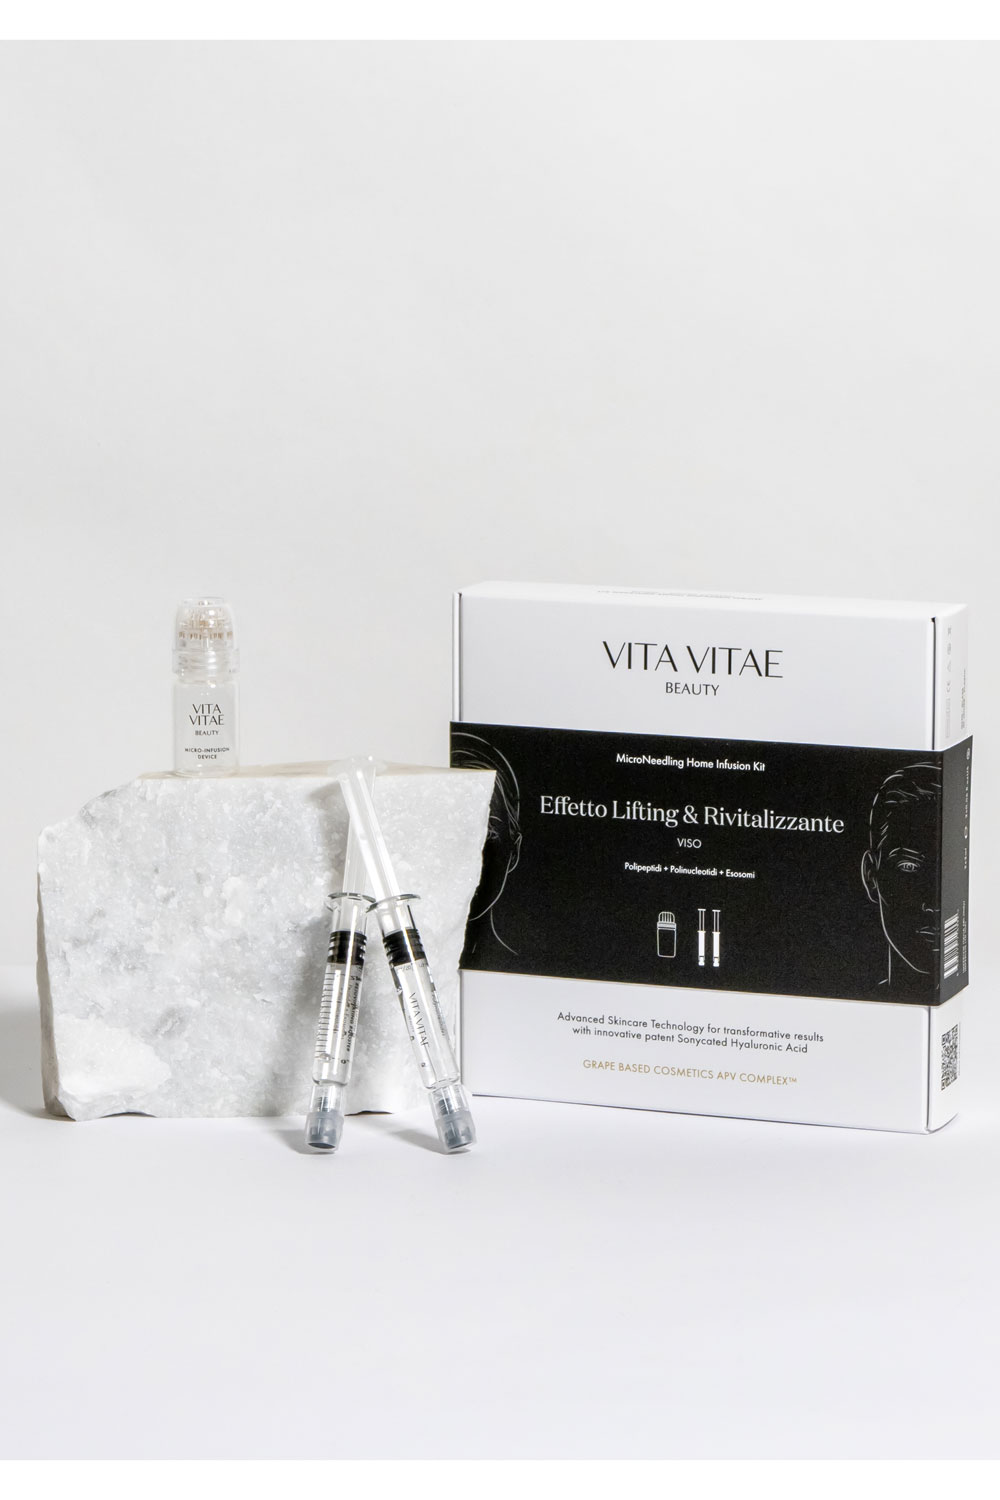
Microneedling has been a go-to treatment for skin rejuvenation since the mid-90s. In simple terms it involves pricking the skin with tiny needles for rejuvenative purposes; when your body feels these pinpricks it will rush to heal them, giving skin an instant boost. Over time, it has also been combined with serums or topical actives to improve absorption, though the core treatment is still based on needling rather than injection. This all sounds like something you’d leave to the professionals in a clinical setting, right? Not necessarily; at-home microneedling systems are growing in popularity, and Vita Vitae has this year released the world’s first at-home Micro-Needling System that incorporates exosomes, polynucleotides and polypeptides. Rebecca Cox gives it a go.
At-Home Microneedling: What’s The Science?
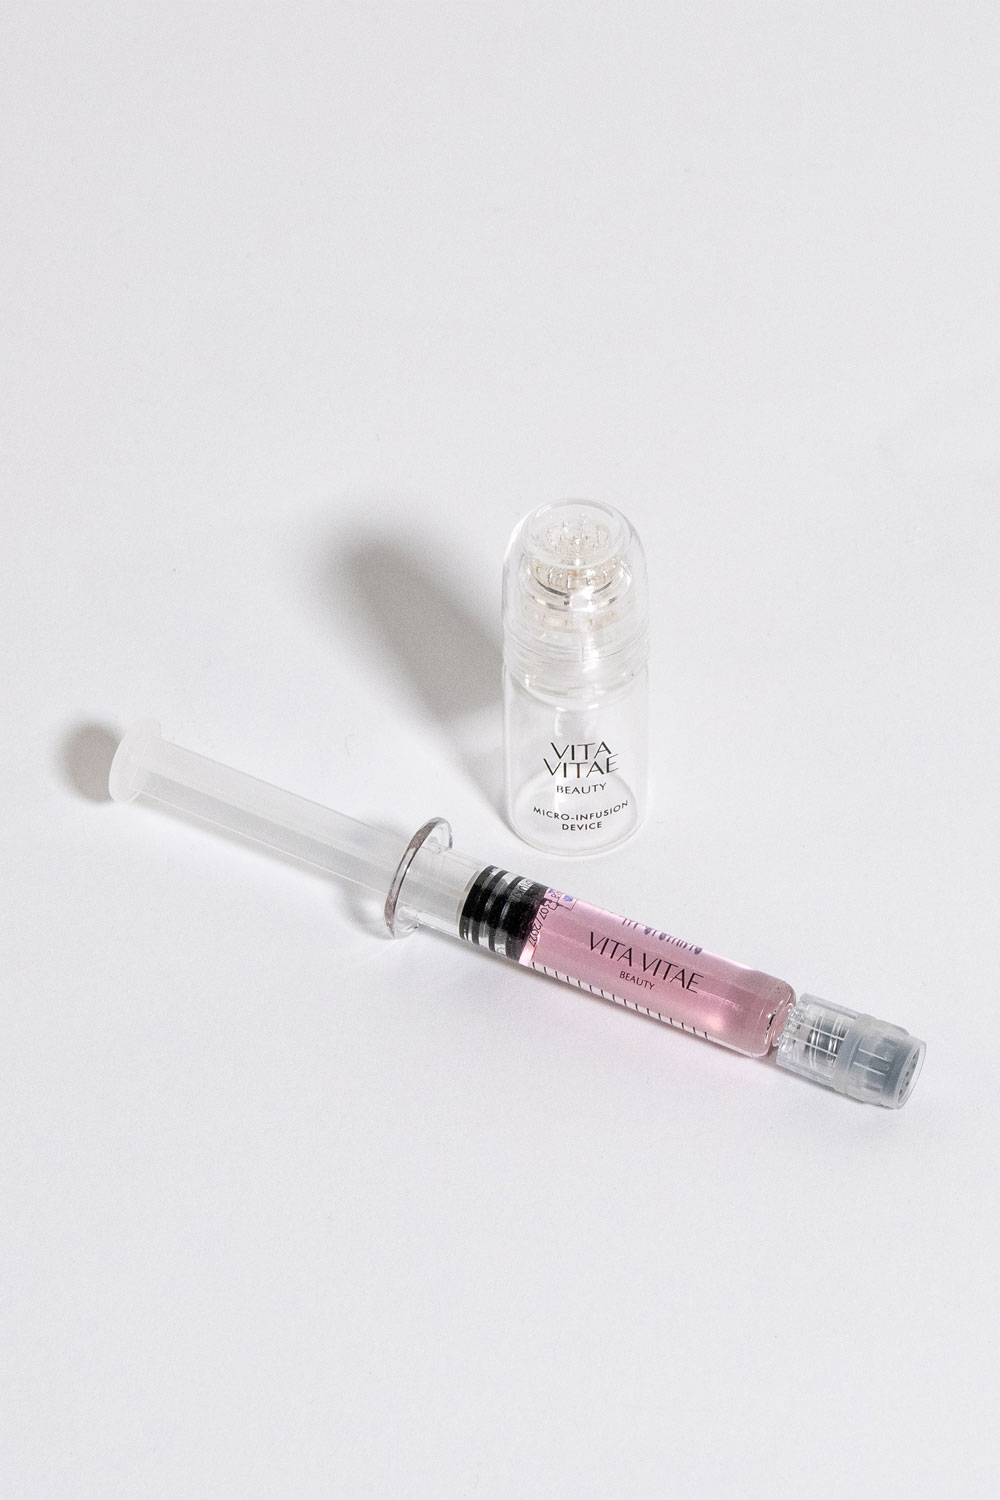
The main difference between Vita Vitae’s at-home treatment and in-clinic microneedling is the length of the needles and the precision needed. This at-home version uses ultra-fine, 24K gold-plated micro-needles to create tiny channels at the skin’s surface, which Vita Vitae states helps active ingredients absorb more effectively while also encouraging a visible skin-repair response.
The idea is straightforward: the device preps the skin, then the booster serum is delivered more efficiently than it would be with ordinary application. The serums feature hyaluronic acid in different molecular weights, so some sit closer to the surface for immediate plumping while smaller molecules are intended to travel deeper for a more sustained effect. Depending on the concern, the boosters are formulated to focus on lifting and revitalising, plumping, or brightening, with ingredients such as polypeptides, exosomes, polynucleotides, niacinamide and vitamin B12 contributing to the treatment’s skin-smoothing, glow-enhancing profile.
Vita Vitae Micro-Needling: A Step-By-Step Guide
One of the main selling points of this treatment is that it’s easy to do at home, but I struggled a little on my first attempt, prodding over and over without getting the serum flowing. However, I hugely benefited from a one-to-one walk-through with founder Alberto Maccan (who has flawless skin FYI), who pointed out where I was going wrong, so here is his full detailed step-by-step of how to administer the microneedling at home.
- Load the serum and prepare the device. ‘We start with putting the serum in the vial with the little syringe. Close it, open the cap, and then turn it the other way around so the needles are pointing down. Tap it a few times to get the serum moving.’
- Start on the hands (recommended for beginners). ‘You can start with the hands because it’s easier for the liquid to come out.’
- Work across the face. “For the face, start from the cheekbone and work outwards. It’s easier because then you get the redness and you can see where you’ve already done it and where you haven’t. I tend to do half the face and then go over again.’
- Stamp with 50% overlap. ‘You should do an overlap of 50% to make sure you cover your whole face. You can go over an area two to three times.’
- Focus on specific areas of the face. ‘Cover all around the nose, on the nose, under the eyes, right under the eyebrows and on the cheekbones. If you have the plumping one, you can focus on the cheekbone area, or here on the sides; it’s pretty much where you would want filler.’
- Do the lips. ‘You can apply it right on the lips. And also on the cupid’s bow.’
- Do the neck. ‘Angle the device rather than holding it flat so you can still feel the serum coming out.’
- Use any remaining serum. ‘Whatever is left, I suggest using your hands and applying it all over your face, neck, even the hands.’
- Let the skin rest. ‘For at least one hour, don’t put anything on. It’s better to do it before going to bed, so you just leave it like a mask. Then the morning after you can use your usual moisturiser and SPF.’
Does It Hurt?
Stabbing yourself with a collection of tiny needles feels slightly intimidating but it honestly doesn’t hurt. I’ve never had microneedling in-clinic, but I have had a professional laser treatment and that was a lot more intense. This is just the lightest scratch – and because you’re in control you can avoid any more sensitive areas if you prefer to. The only area you should definitely avoid is the eyelids, according to Alberto, but for me the lips were too sensitive, too.
Downtime & Results
‘Redness lasts up to 15 minutes max,’ says Maccan, and he isn’t wrong; my skin only goes slightly red during the treatment and it has almost completely settled within 10 minutes of completing the final area. The timing of the treatment is important, because you need to avoid applying creams and SPFs for around 12 hours afterwards ideally, so I tested before bed and didn’t apply anything else until the morning.
After my first use I noticed that around two days afterwards my skin looked slightly more glowy. Alberto recommends using the product once a week for a month for the first use and then maintaining it once a month. If you have a big event, he recommends using the kit 2-3 days before for the optimum glow, and this was my experience; my skin looked noticeably brighter a couple of days after the treatment.
My main pleasant surprise was how effective this is on hands. My hands are a sorely neglected area of my body in terms of skincare, and I suffer from very dry, chapped hands, and I found that this microneedling treatment really improved the overall texture and appearance of my hands. Alberto recommends you can use any leftover product once you’ve finished your face on the back of your hands, but I’d say it’s worth using this as a targeted hand treatment if that’s an area of concern, too.
You Should Also Know
‘You can do injectables like Botox [in conjunction with the microneedling], but you need to do it either two days after the needling, or one week before,’ says Alberto. ‘The doctor will tell you when you do Botox to avoid the gym for 24 to 48 hours and massages for at least one week; this works like a massage, so you’d have to wait at least one week after Botox before using the device.’ You should also avoid using this too soon after peels and laser treatments, again wait at least a week or two before using the at-home microneedling treatment to give your skin time to heal.
C&T Key Notes
- Tweakment: Vita Vitae At-Home Microneedling
- Downtime: 15 minutes
- Best for: improving tone, texture and evening out skin, particularly if you have acne marks.
- Cost: from £89
- Buy: vitavitaebeauty.co.uk/shop