I Went To Sourdough Starter School. Here’s Everything I Learnt
By
5 months ago
Making a starter can often prove a tricky first hurdle for would-be bakers. A new 'Sourdough Starter School' aims to take the pressure off. One writer tried it out
Here is a loose fact: 90 percent of the time, a rom-com heroine is a magazine journalist. The other ten percent of the time, she is a baker. Ignoring my longstanding relationship with a fantastic partner, I have the former down pat. But should journalism fail to pan out – and with the current media landscape, this is not improbable – it seems inevitable I’ll have to become a baker.
There’s one problem: I am a terrible baker. Like everyone in lockdown, I tried my hand at breadmaking. The results were dense and inedible, and my sourdough starter never made it past infancy. Thankfully, BreadAhead’s new Sourdough Starter School offered a chance to redeem myself – and perhaps my rom-com arc.
I Learnt How To Make Perfect Bread Starter At A New Sourdough Starter School
Since 2014, BreadAhead has run workshops at Borough Market, from masterclasses on doughnuts and cinnamon buns to breadmaking courses that last upwards of four hours. The Sourdough Starter School is for those short on time, with a brisk 90-minute session on preparing that tricky starter, keeping it healthy, and baking with it.
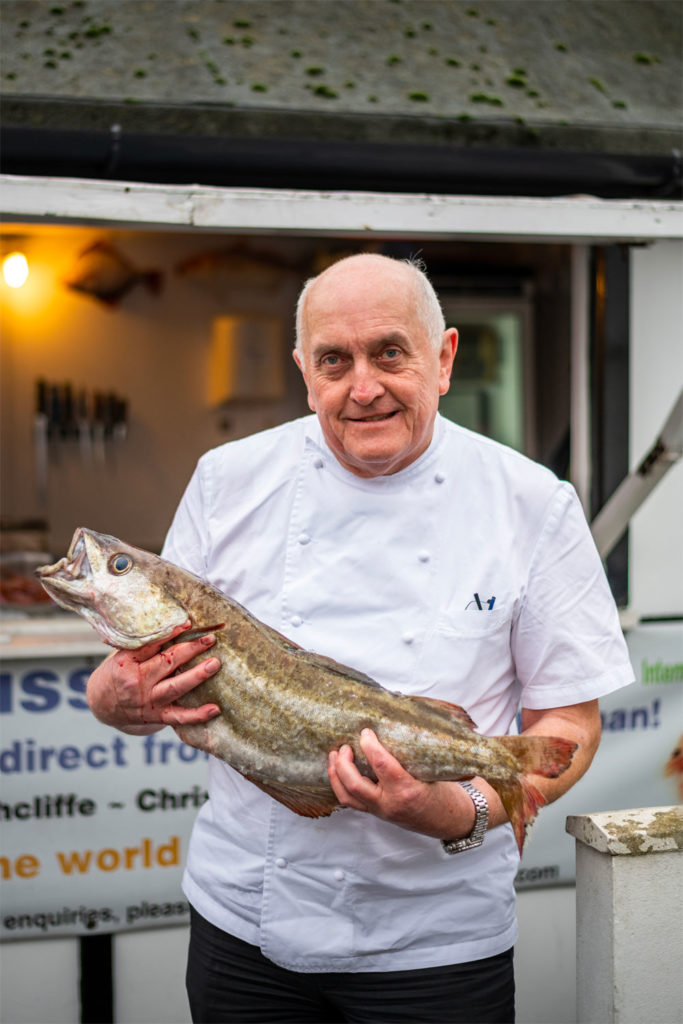
I arrive – guided more by the smell of freshly baked bread than Google Maps – at BreadAhead’s Borough Market bakery where I am met by Andy, a professional baker and our knowledgeable instructor.
The first step is meeting Bruce, BreadAhead’s very own sourdough starter. Or rather, an offshoot of Bruce. It is from this starter – named for a local Parish deacon who blessed the starter with holy water in 2013, upon its inception – that all of our sourdoughs will be formed. Andy has us sniff the beige sludge and take in the sharp vinegar smell. He explains that this, and the holes in the paste, is the result of fermentation – alcohol, acids and carbon dioxide.
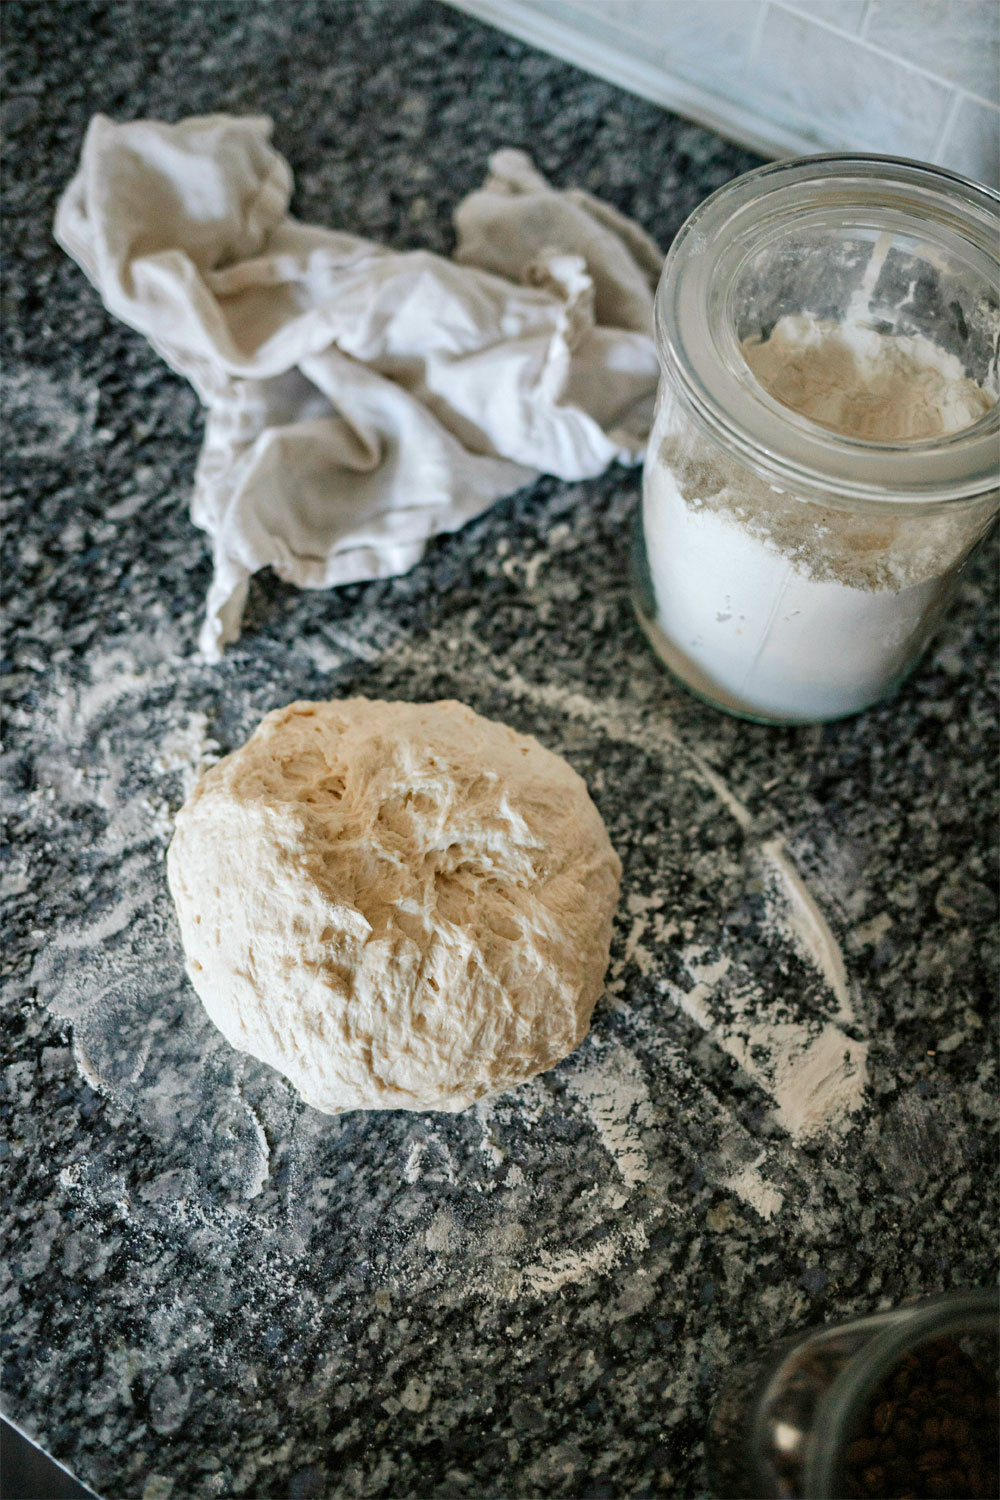
Bruce is a rye flour starter, chosen for being both gut-friendly and a more forgiving medium than its white flour equivalent. Andy runs us through the stages of building a starter and preparing a loaf. To create your own, you mix equal parts light rye and water, cover loosely in a jar, and leave it overnight at room temperature. Repeat this process daily, without discarding, for five days until it bubbles to life. From then on, you can feed it weekly or fortnightly with a one to one to one ratio of starter, flour and water. If you don’t want an industrial quantity of sourdough starter multiplying in your kitchen, bake with or discard a portion at each feed – 40g is a good base.
Andy explains that from here it is a three day process to make any loaf of sourdough. Feed your sourdough (as above) two nights before baking then let it grow overnight. The next day, create following any recipe and leave in the fridge, covered, to prove overnight in a banneton or floured bowl. On day three, you can bake, ideally in a blazing-hot oven (max temperature at home) in a Dutch oven or with a baking hood. A marathon, perhaps, but some good news: there’s no kneading involved, so my previous problem of dense loaves (thanks to underdeveloped gluten, the result of poor kneading) is no worry.
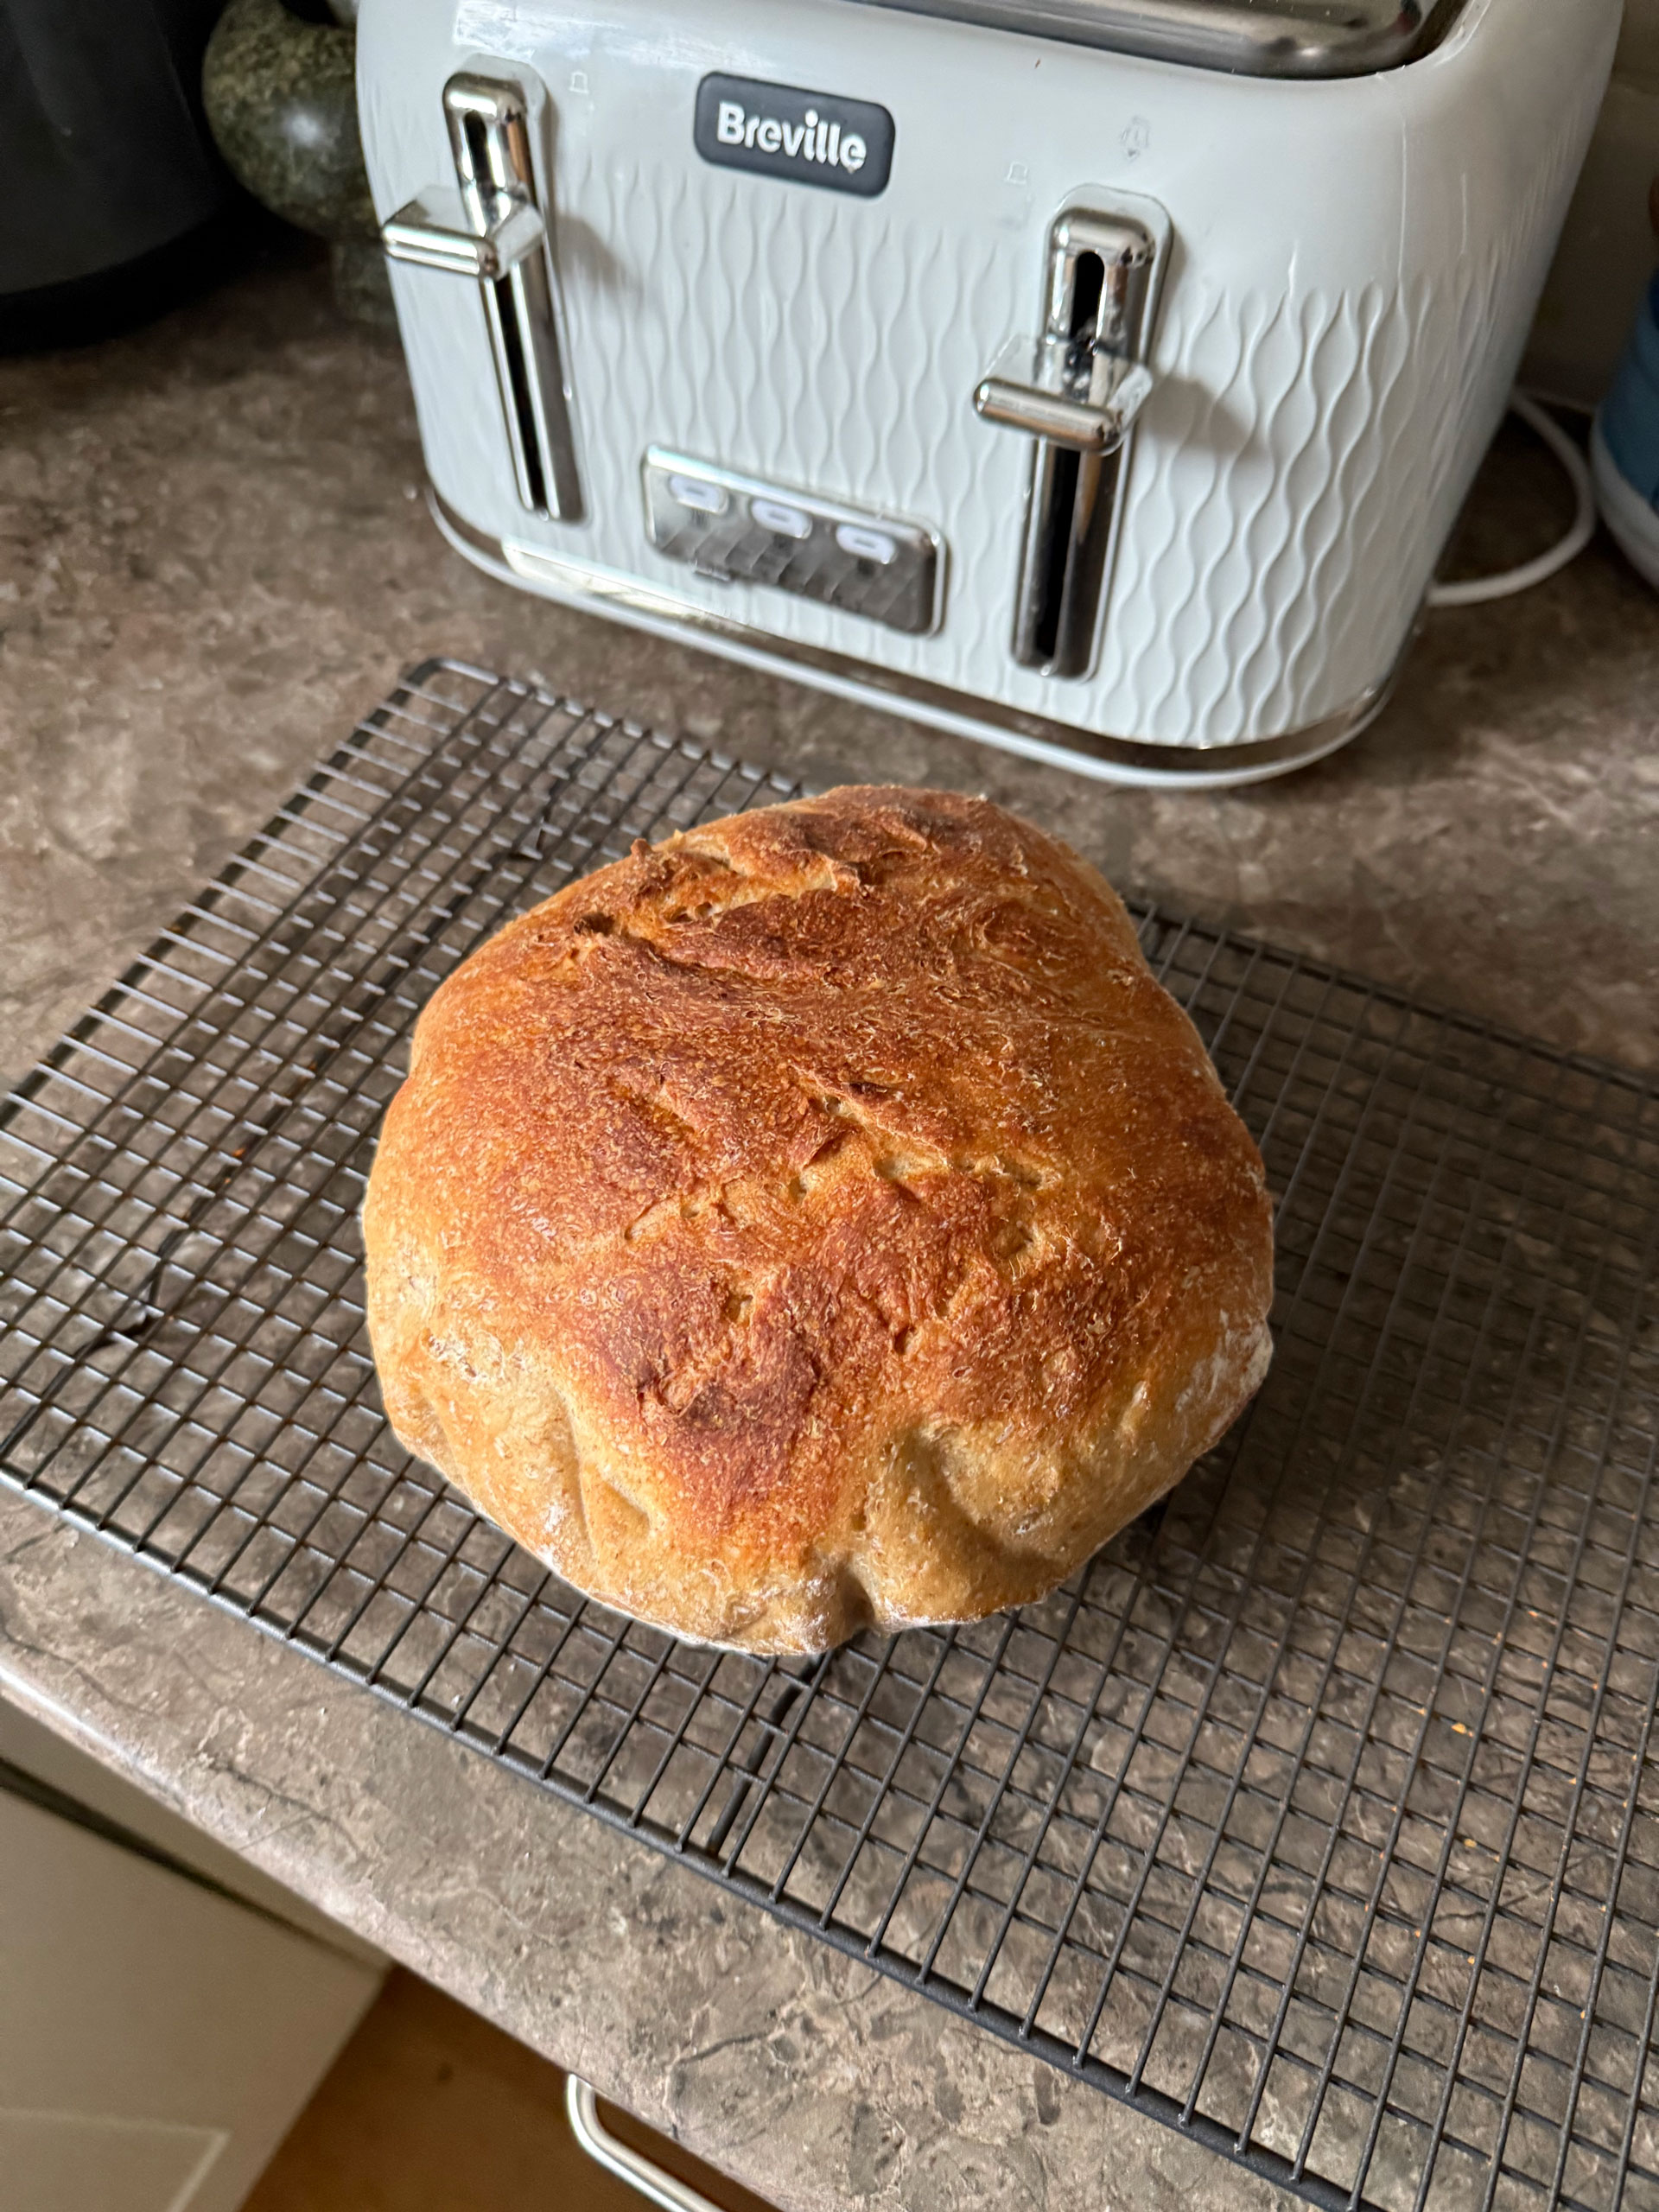
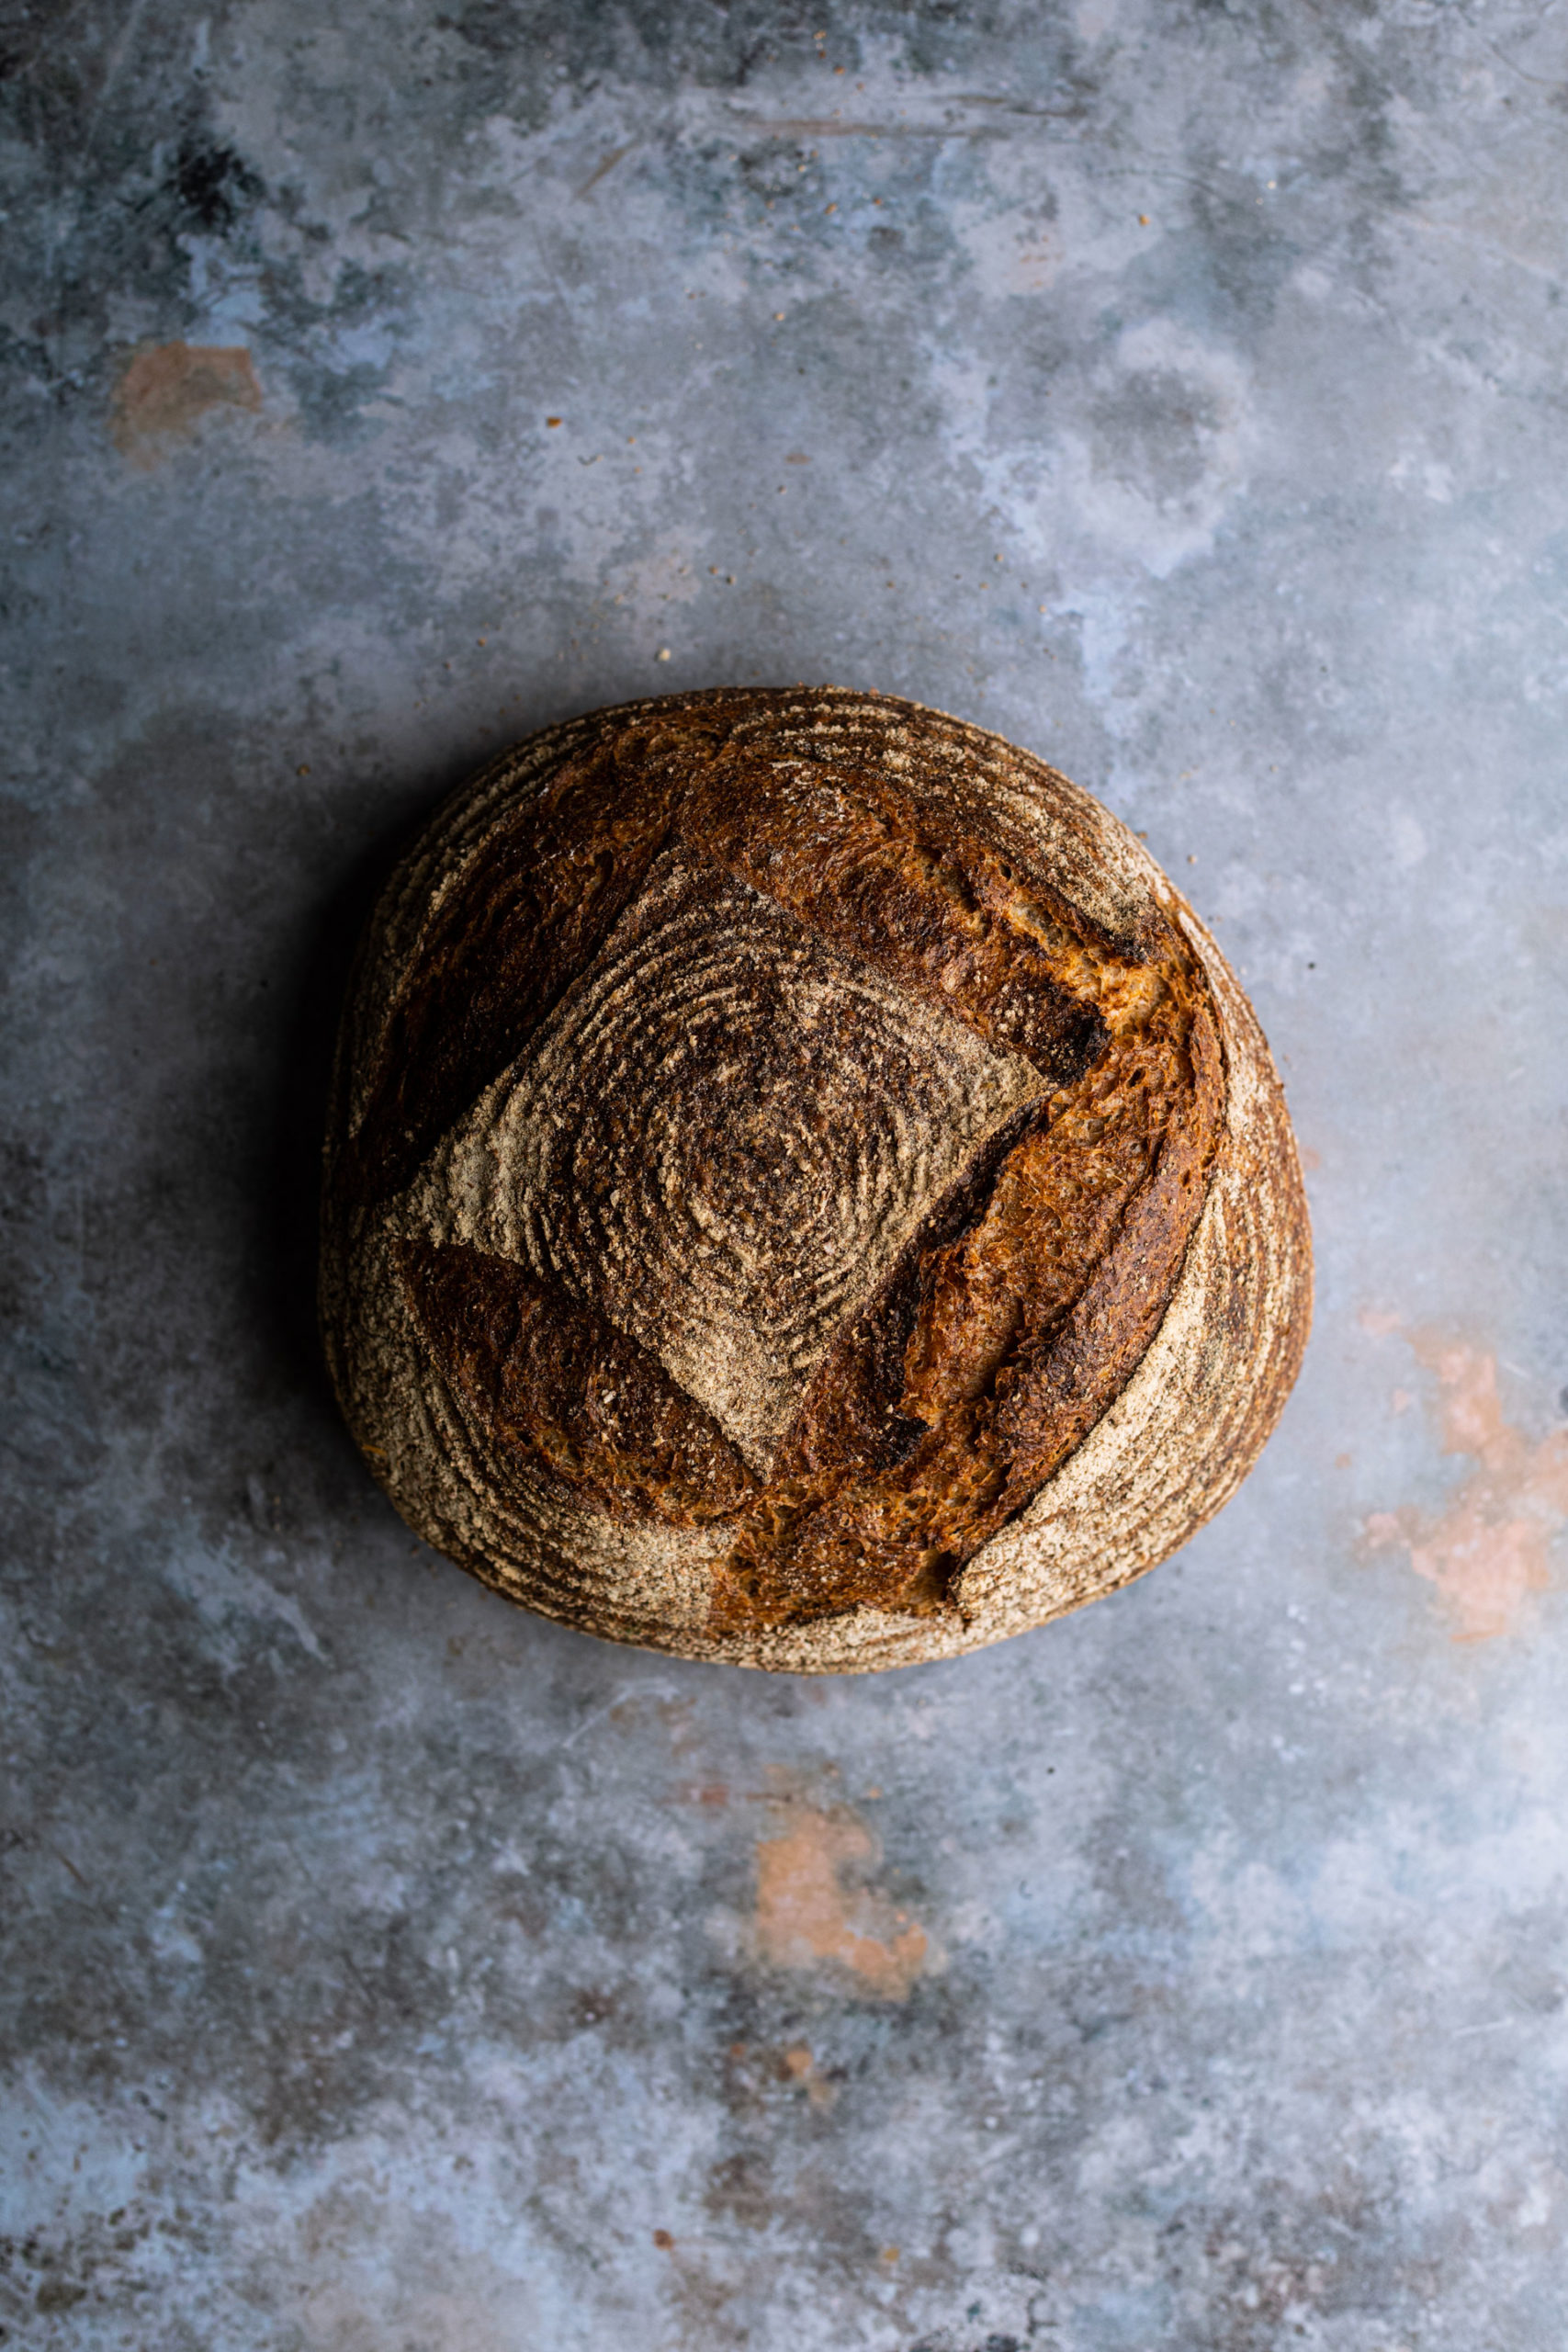
My first sourdough boule © Tessa Dunthorne
Finally, Andy insists we name our starters, the reason being that guilt will act as our motivator at home to keep them alive. Mine is christened ‘Bruce von Brucington III’ and I head home with my beige goo to continue the experiment. At home, I find it surprisingly simple, armed with Andy’s explanation, to feed my starter, and baking the loaf is almost foolproof. Still, I manage to underproof the dough and forget to cover the dough in the fridge overnight. It’s wonky, certainly. But it smells and tastes like a sourdough boule I might pick up in the supermarket.
Maybe I’ll never woo a ruthless and ambitious city trader with my offer of nostalgic rustic bread. I’m not sure I really want that, either. But my partner is certainly chuffed that I can finally turn out an edible loaf.
BOOK IT
£25pp. Includes tea, coffee and bread to try during the 90-minute workshop, and a sourdough starter to finish at home.
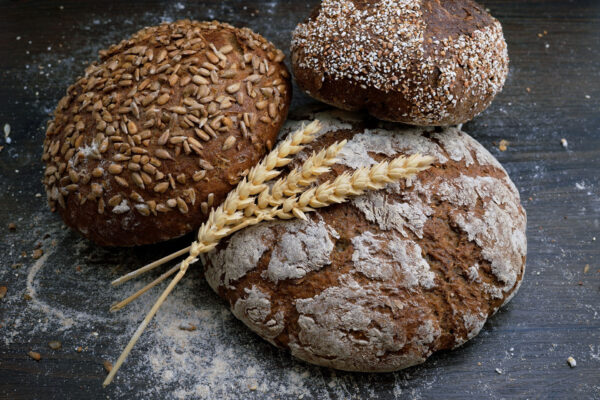
RECIPE: No Knead Sourdough
Recipe courtesy of BreadAhead
BreadAhead’s wholemeal sourdough
Ingredients:
- 500g strong white bread flour, plus extra for dusting
- 150g rye starter
- 350g water
- 11g fine sea salt
- Semolina, for dusting
Essential kit
You will need a Dutch oven (cast-iron casserole) or a baking stone and a razor blade. If using a baking stone, you will also need a water spray and a baker’s peel or wooden board.
Method
Day 1: Place the flour in a large mixing bowl. In another bowl, add the starter to the water and mix (your starter should float in the water). Make a well in the centre of the flour and pour in the liquid. With your hand like a fork, gently bring the dough together (don’t overmix – at this stage you just want to combine until the flour has cleared). Cover and leave at room temperature for 1 hour. In this recipe, we use the delayed salt method. This gives your starter time to become active and your flour time to absorb water before the salt is added. When the hour is up, uncover your dough and place the salt on top. Sprinkle a little water over the salt, then gently start pulling the salt through the dough. This should take about 30 seconds, at which point you should feel your dough start to tighten up slightly. Cover your dough and place in the fridge for 12–24 hours.
Day 2: Take your dough out of the fridge and uncover. It will be a lot firmer now and will be starting to resemble a fully mixed dough. You now need to give your dough a fold. This will start to develop the gluten, reactivate the yeast and put air pockets into the dough. First, pick up the top two corners of the dough and pull up, stretching the dough upwards, then fold over to the opposite side (the first corners should meet the opposite two corners). Next, pick up the bottom two corners and again pull up, stretching the dough up and over, and fold to the opposite side. Now repeat for the left- and right-hand sides, then flip the whole of your dough over, so the bottom becomes the top.
Rest it for half an hour, then take your dough out of the bowl and give it a gentle pre-shape (the easy way to do this is to cup your hands and tuck the sides of the dough underneath until your hands meet, then rotate the dough clockwise, repeating the tuck, and rotate until a full circle is reached. It doesn’t need to look pretty). Cover and leave for 10 minutes. Heavily dust your proving basket with flour, then shape your dough into a nice tight round by bringing the edges of your hands together (palms facing up) underneath the loaf as you turn it on your work surface. This will create good tension in the loaf. Place the dough upside down in the proving basket and leave to prove for 1 hour at room temperature. Cover and place in the fridge for another 8–12 hours.
Day 3: Take your dough out of the fridge and leave it to rise for about 2 hours. Pre-heat your oven to 250C / fan 230C / gas 10, or as hot as it will go. Once your oven is ready, put a Dutch oven (cast iron casserole) or baking stone in to heat up. Get your water spray ready if you are using a baking stone. If using a Dutch oven, very carefully take it out of the oven. Sprinkle the loaf with semolina and gently place top-side-down in the Dutch oven. Using a razor blade, cut two slashes in the dough. Put the lid on, place in the oven and bake for 35 minutes, then remove the lid and bake for a further 25 minutes. Take the Dutch oven out and very carefully remove the loaf, then put it back into the oven, directly on the oven shelf, and bake for a further 10 minutes, depending on how much singe you like.
If using a baking stone, gently and slowly turn out your loaf onto a baker’s peel or a wooden board. Using a sharp knife or a razor blade, cut two slashes on the top of the loaf, then slide it off the peel on to the baking stone in the oven. Heavily spray inside the oven with your water spray and bake for 30 minutes. After 30 minutes, turn your loaf around and bake for a further 25 minutes, depending on how much singe you like. Once baked, place on a rack to cool.