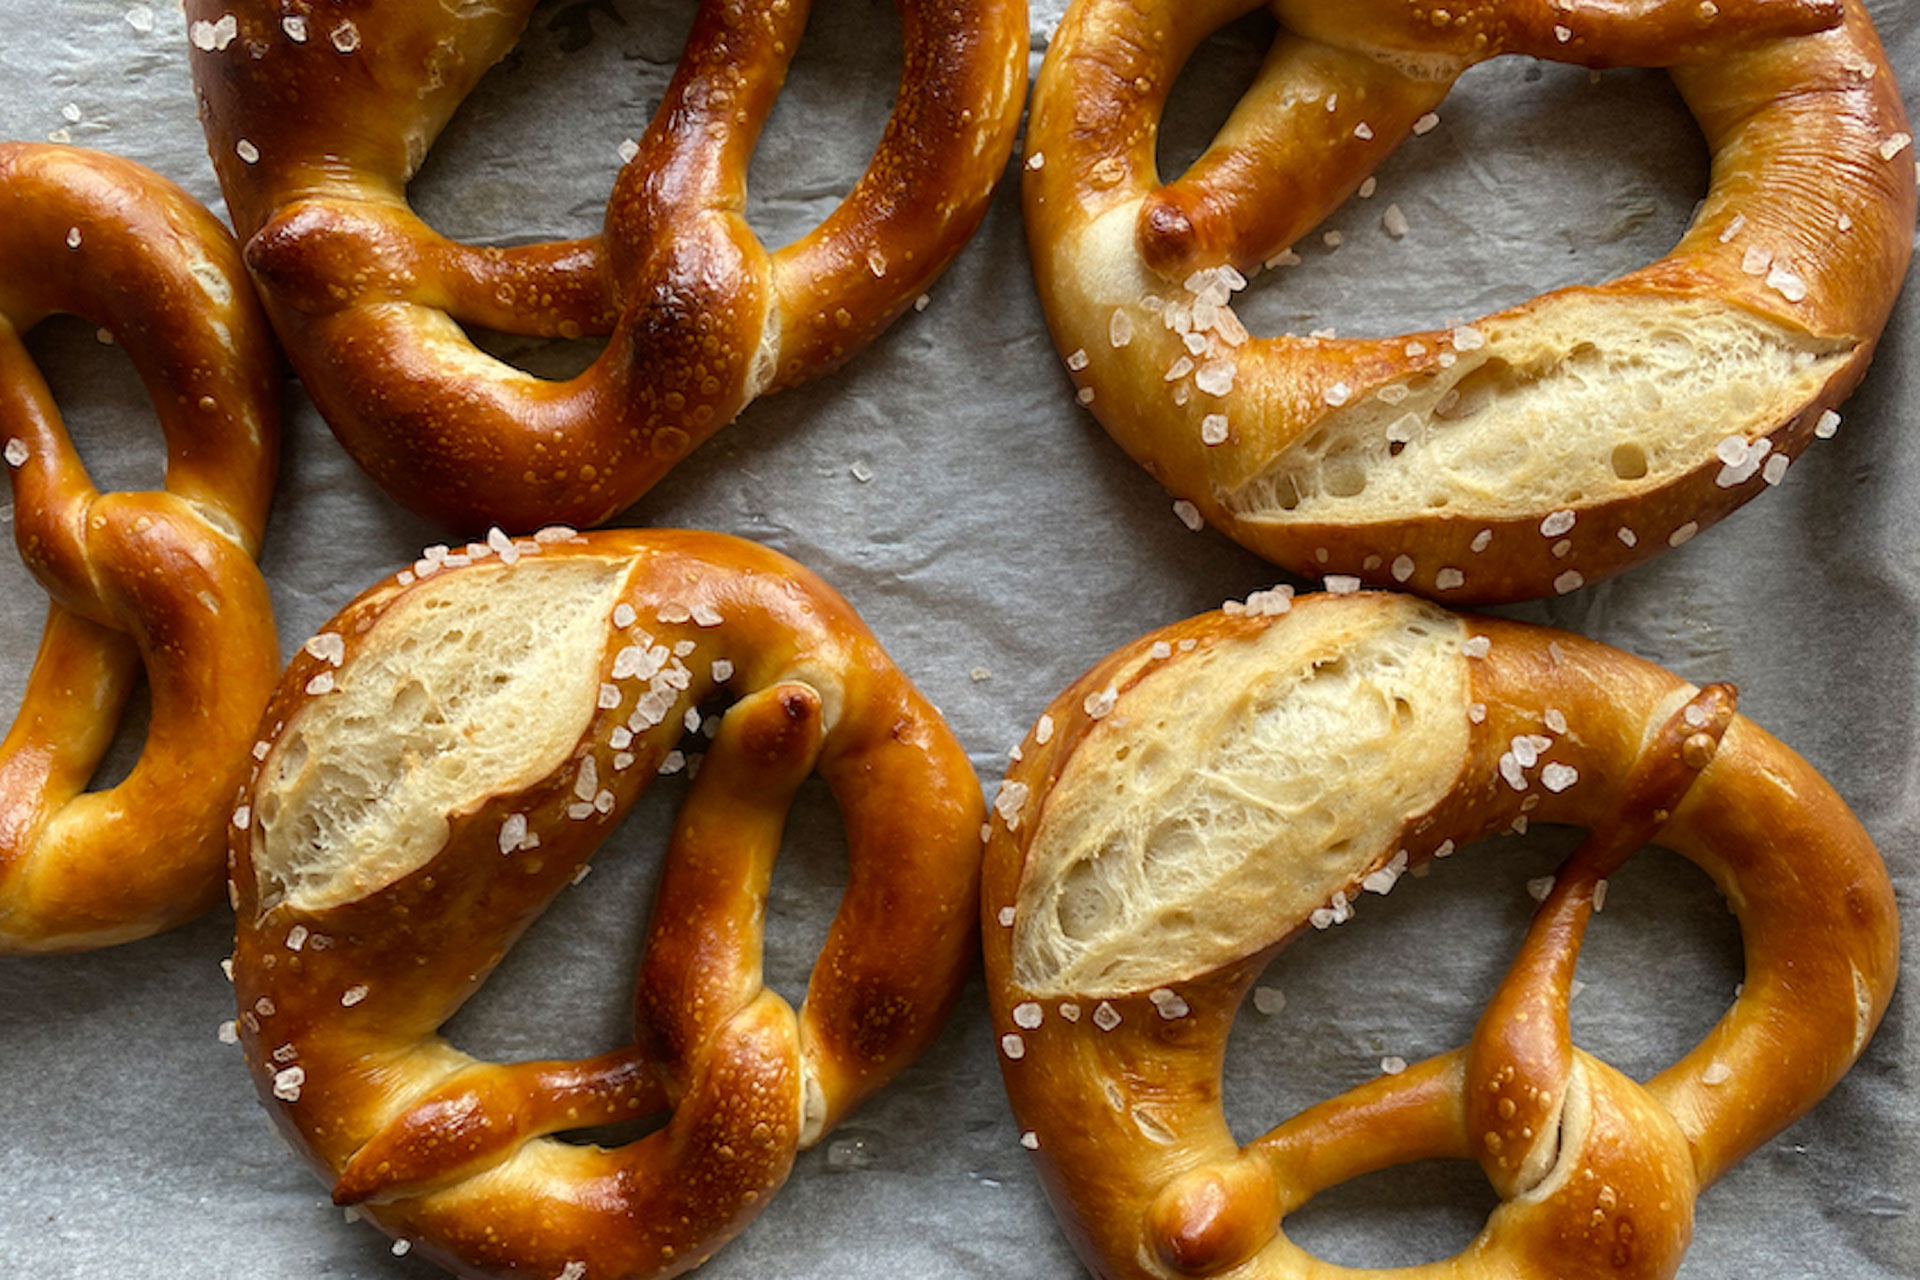
Recipe: Sourdough Sophia’s Pretzels
By
3 years ago
The perfect way to mark Sourdough September

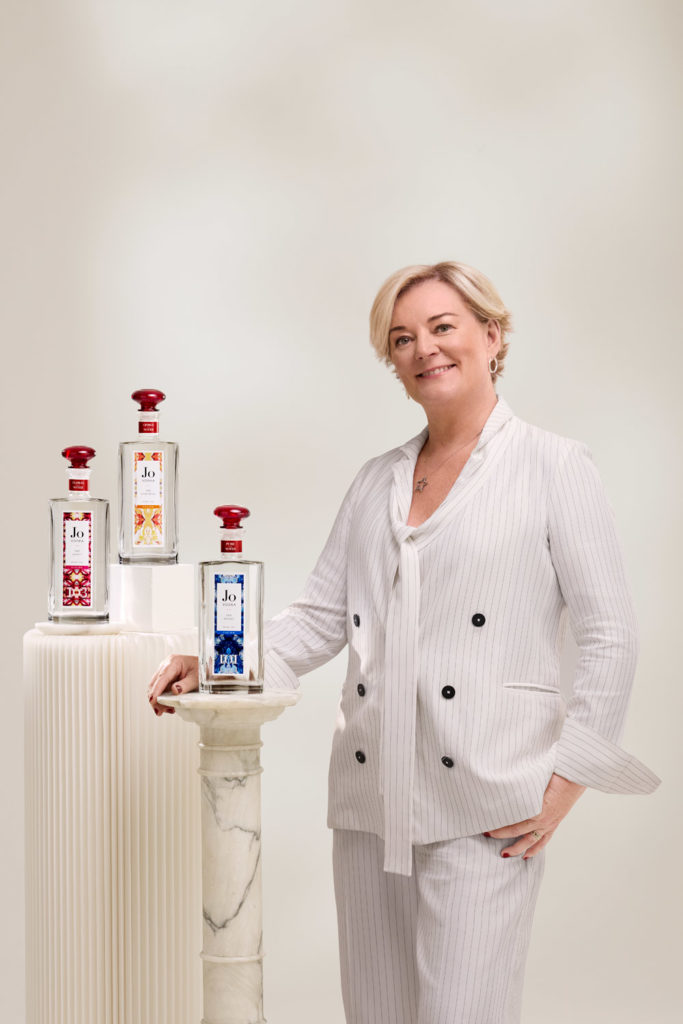
Meet the queen of sourdough, Sophia Handschuh. She’s the owner and baker of Sourdough Sophia, the small batch sourdough bakery and baking school based in North London, so who better then to provide a recipe in ode to this bread? Sophia shares her sourdough pretzels recipe and if you want to take it a step further, check out her online course.
Recipe: Sourdough Sophia’s Pretzels
Ingredients (dough)
- 250g mature sourdough starter
- 850g strong white bread flour, plus extra for dusting
- 408ml water, at around 35°C/95°F (to achieve the right desired dough temperature)
- 17g fine sea salt
- 60g unsalted butter
- 3g diastatic malt powder
Ingredients (lye bath)
- 500ml–1 litre water
- 30g lye pearls or 3 tbsp bicarbonate of soda (baking soda)
- Coarse sea salt granules, for sprinkling
Method
- Feed your mature starter at 9pm the evening before with a 1:10:10 ratio. Store in a clean jar and keep at around 24°C (75°F). It should double/triple in size within 10–12 hours. Let it ferment until it nearly peaks, then just before peak (the next morning), it is ready to be used.
- The next day at around 8am it is time to make your dough.
- For this dough you need to aim for a dough temperature of around 24°C (75°F). If you have a particularly hot or cold environment, you may want to use much colder or much hotter water to achieve the desired temperature.
- Combine the flour, water, salt, softened butter, malt powder and mature leaven in a bowl and mix with your hands. If using a mixer, do this on Speed 2 for a couple of minutes.
- Note on mechanical kneading: if you are using a mixer fitted with a spiral dough hook, make sure to really watch the machine. It is an incredibly stiff dough so you may cause damage to your machine. You can start off in the machine and finish off by hand. You are the best judge of your equipment.
- Now it is time to develop gluten by kneading. This can be done mechanically or by hand. If you do it mechanically, mix on speed 3 for 3–5 minutes. By hand use the slap and fold method (see page 15) or by using the same movement you would for making pasta dough: stretch out with one hand and scrape back together by folding over on the work surface until you can see the dough coming together and the gluten no longer ripping.
- Place the dough in a bowl and cover with clingfilm (plastic wrap). Check the dough temperature at this stage and set a timer for the bulk fermentation time according to the temperature: if the dough is 24°C (75°F), it should take about 3 hours.
- Very lightly dust a work surface with flour and tip out the dough. Divide it up into 115g pieces using scales and a dough scraper to cut the dough. Then, using your hands, heavily de-gas, or knock back, each piece, then shape roughly into a rectangle. Slightly flatten and fold a small part of the dough down and press the seam in, then repeat with the next bit. Keep on folding the dough over the next piece until you arrive at the other end. Repeat with the other pieces until you have 13 cigars. Cover with a tea towel or a plastic bag and leave to rest for 15 minutes.
- Final shape at 12:45pm: line 2 large baking trays (sheets) with non-stick baking paper and set them aside. Starting with a pre-shaped piece of dough, place it in front of you and place your hands on top, leaving a 3cm (1¼-inch) gap right in the middle between your thumbs. Roll out wide and long with a strong, firm stretching movement that creates evenness and a 60cm (24-inch)-long sausage. The centre should remain thick and untouched. If you feel resistance and elasticity, leave it for a minute and then continue; it might just need to relax a bit.
- Pull both ends up so that you arrange a big loop with the base of the loop being the thick middle, fold over the loops twice in a twist and then arrange each on one side of the loop so you create a pretzel shape. Press down to seal. Then transfer the shaped pretzels on to the prepared baking tray. Repeat until all pretzels have been pre-shaped. You don’t need to leave a large gap between the pretzels, as you will pick them up once again. Cover them with a large plastic bag or turkey roasting bag.
- Final prove at 1:00pm: leave the pretzels to prove for 30 minutes, covered, at room temperature and then 1 hour in the refrigerator, uncovered. It is important to chill the pretzels properly and let a skin form. You can at this stage also place them in the refrigerator overnight ready for the next day.
- Lye bath at 2:30pm: preheat the oven to 250°C (500°F), Gas Mark 10 and set up a lye station. At this point you can decide whether you want to use lye (see Steps 12–13) or choose bicarbonate of soda (baking soda) instead (see Step 14).
- For the lye bath, prepare a large bowl or glass dish with 500ml water and a 3% lye solution. If you have lye pearls it would be 15g lye pearls, for example. Wear gloves always and carefully place this mixture on a baking tray (sheet) lined with non-stick baking paper. Next to it, place another baking tray lined with baking paper and if there is any gap between them, line that with baking paper too. You don’t want any lye on the surface as it will corrode. Your goal is to have a production line where you take your pretzel from the baking tray, dip in lye and place on the new baking tray. Then score and bake.
- Once the station is set up, wearing gloves, place a pretzel in the lye solution, leave for a second and transfer to the new baking tray. Repeat with all pretzels, then score the pretzels, still using gloves, and set them aside. Clean up your station first to avoid any accidents and wash your hands. Then, sprinkle coarse sea salt granules over the pretzels and bake them immediately.
- Alternatively, you can set up a station with a large saucepan and add 1 litre of water and 3 tablespoons of bicarbonate of soda (baking soda). Bring to the boil, then place 1 pretzel at a time for 40 seconds in the boiling water. Remove with a slotted spoon and place back on to the baking tray. Then repeat with the remaining pretzels. Be careful, as they may start falling apart while lifting out of the water, so just arrange them again quickly. Score them, sprinkle over sea salt granules and bake immediately.
- Bake at 3:00pm: place the baking trays in the oven and bake for 10 minutes, then lower the heat to 220°C (425°F), Gas Mark 7, and bake for a further 8–10 minutes until they are golden and shiny.
- Remove and leave to cool on a wire rack.
MORE RECIPES:
Bread Ahead’s Famous Doughnut Recipe / How To Make the Perfect Scone


