Ingredient of the Week: Aquafaba
By
4 years ago
There's a hidden ingredient hiding in your chickpeas
Each week plant-based cook Bettina Campolucci Bordi, founder of Bettina’s Kitchen, gives us the lowdown on a particular seasonal fruit, vegetable or ingredient, offering cooking tips and a recipe. This week it’s an unusual one: aquafaba, the starchy liquid in a can of chickpeas which is a lot more useful than you might have thought.
Ingredient of the Week: Aquafaba
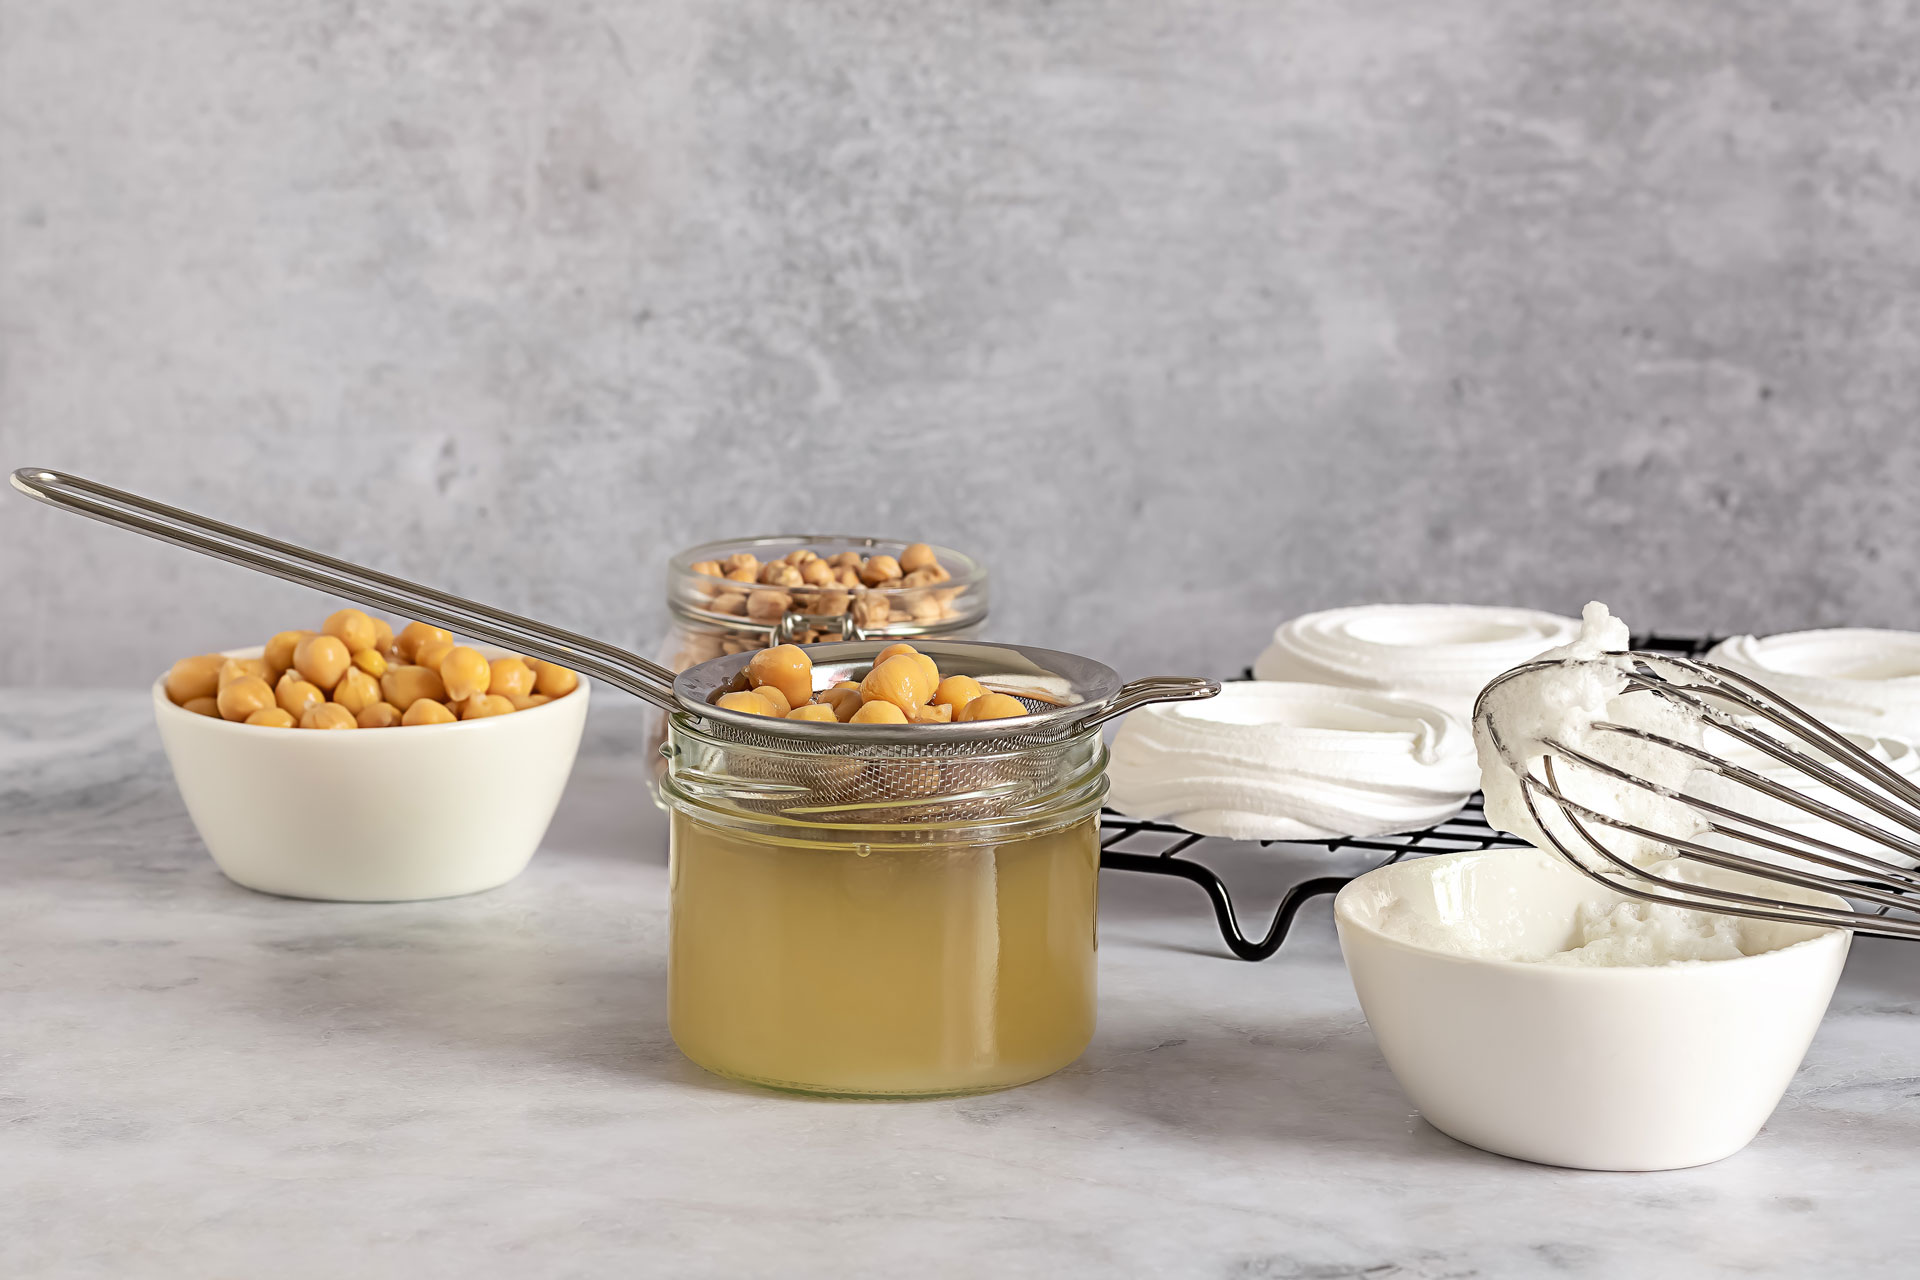
This week I am going to introduce you to a magic ingredient. The odds are that you have been taking one of the most important ingredients in the plant based larder and tossing it in the bin! It’s called aquafaba, and it’s free. When we refer to aquafaba we’re talking about the liquid in a can of chickpeas.
Here are some helpful tips for how to incorporate aquafaba into your cooking and baking. The starchy liquid is a great binder directly from the can, but what really makes it magical is that it whips and creates a foam. You can use it as an egg replacer, make meringue and much more! Aquafaba is able to trap air, giving items structure at the same time it delivers a fluffy crumb and lift.
I think aquafaba’s most magical quality is its ability to whip to a stiff, fluffy foam. I whip aquafaba with sugar, vanilla, a bit of cornflour and cream of tartar to make plant based meringues and have used it loads in baking to replace eggs. It is also used as an egg white replacer in cocktails. Many cool bars are now making foamy delicious drinks with Aquafaba. Due to its slightly beanie flavour, less is more.
Draining and saving the liquid from a can of chickpeas is the simplest (and most foolproof) way to get aquafaba. Choose canned beans with low or no salt added so that the liquid is not overly salty. It’s also a good idea to shake the beans around the can a few times before opening it and draining. This extra step helps to add a little more starch to the liquid since the beans have bashed into one another inside the can.
For ease, I like to keep chickpea water in the fridge ready to use. Fresh chickpea liquid can be stored in the refrigerator for up to one week. If you do end up with loads then you can also freeze it. To freeze aquafaba, put one tablespoon portions in ice cube trays. Once the liquid cubes are frozen solid, they can be transferred to a freezer bag for future use.
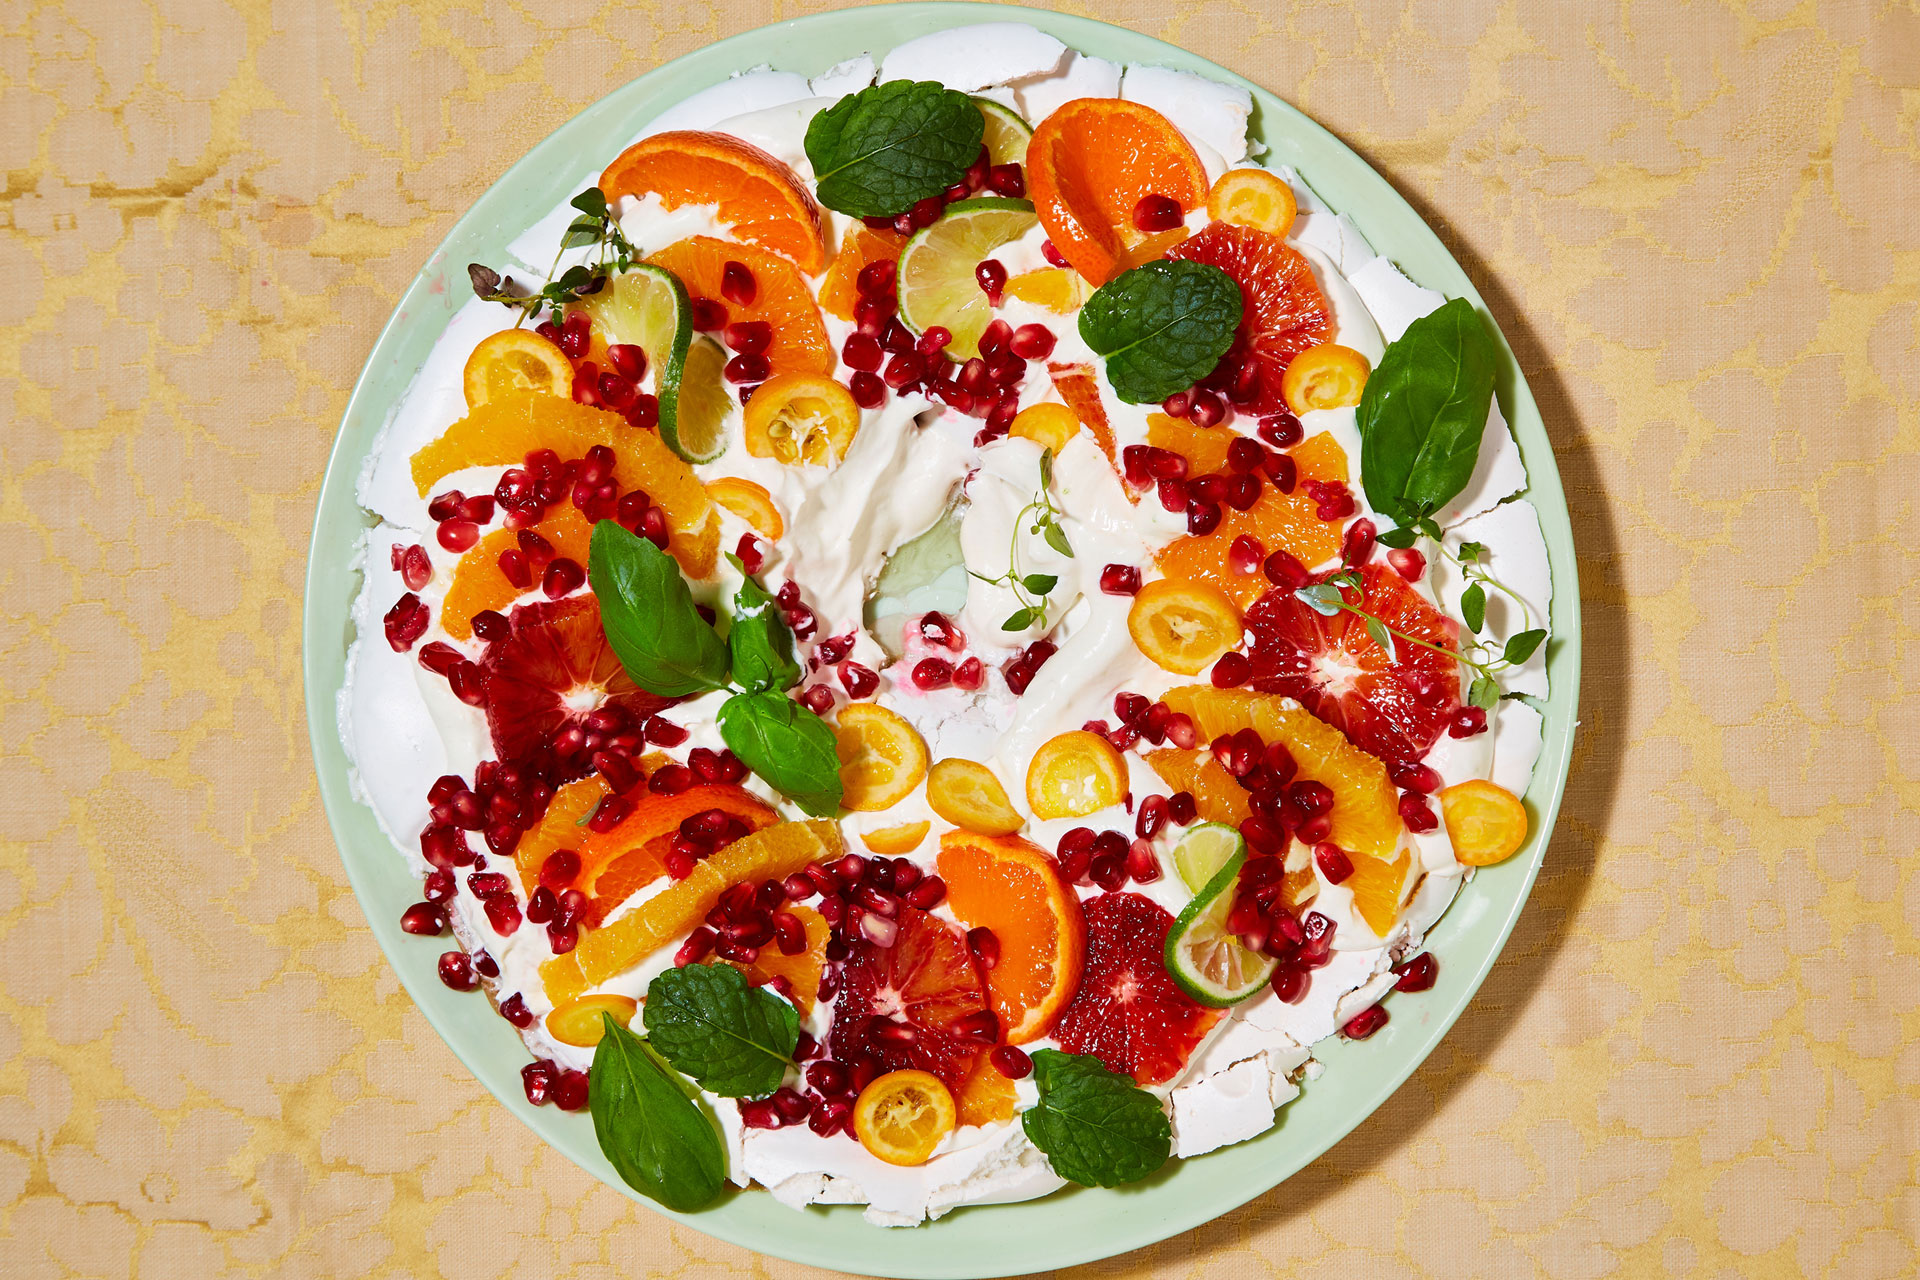
One of my favourite recipes is this pavlova wreath with lime cream and seasonal fruit from my latest cookbook Celebrate.
A brilliant and pretty dish to serve either as individual nests or a big, impressive wreath. Topped off with seasonal fruits and a tart cream, it is heaven. The instructions here are for one large wreath, but there will be enough mixture to make a nest each for four to six people.
Recipe: Pavlova Wreath with Lime Cream and Seasonal Fruit
Ingredients for the wreath:
Serves 4 to 6
- 250 ml (81⁄2 fl oz/1 cup) aquafaba (liquid from tinned chickpeas)
- 280g (10 oz/11⁄4 cups) caster (superfine) sugar, sifted
- 1 teaspoon cornflour (cornstarch)
- 1⁄3 teaspoon cream of tartar
For the filling:
- 260ml (9 fl oz/generous 1 cup) whippable plant cream
- 1 tablespoon maple syrup
- 1 vanilla pod (bean), split and the seeds scraped out, or 1 teaspoon vanilla paste or extract
- zest and juice of 1 lime
- 500g (1 lb 2 oz) seasonal fruits (such as citruses, strawberries, raspberries and blueberries)
- A few mint and basil leaves, to decorate
Method:
- Preheat the oven to 110°C (230°F/gas 1⁄4). Using a cake pan something similar, draw a circle on a piece of baking parchment. Then draw a smaller circle inside to create a ring – about 10 cm (4 in) wide – to make the pavlova wreath. Place the piece of parchment on a baking sheet.
- To make the pavlova wreath, whip the aquafaba in a bowl with an electric whisk until stiff peaks form – this will take around 10–20 minutes.
- Add the sugar very gradually. Slowly add the cornflour and cream of tartar, ensuring everything is mixed together well. The mixture needs to be stiff and also have a lovely white sheen.
- Spoon the mixture onto the ring drawn on the baking parchment. Make a shallow trench in the ring to hold the cream and fruit.
- Bake the pavlova in the oven for 11⁄2–2 hours until completely cooked/dried out. Remove from the oven and allow to cool.
- This is a great recipe to do the night before and leave in the oven.
- To make the filling, whip the plant cream, maple syrup, vanilla, and lime zest and juice in a bowl until stiff peaks form.
- To assemble the pavlova, spoon the cream into the trough you made in the ring and then arrange the fruits and herbs on top. Serve immediately.
MORE INGREDIENT OF THE WEEK: